Motion Axis Setup
This page describes how to setup a motion axis type, to be used within the Axel Motion Library to develop Motion Control applications.
Overview
The Axel Motion Library is automatically added to any new project created with LogicLab, for enabled target runtimes. The library is actually splitted in two differnt modules: MC_Common.plclib and MC_Driver_DS402.plclib
- MC_Common.plclib contains the blocks and definition to be used by the application programmer, it implements PLCopen Motion Control part 1 specifications.
- MC_Driver_DS402, which code is clear and editable, contains what we call axis drivers: they contains specific behaviour to do with a specific type of axis.
For a better understanding of the whole Architecture of the Axel Motion Library please refer to MCLibraryOverview.pdf
Axes and DS402 model
An axis is a motor, driven by a control drive, which can communicate with the PLC application by means of some fieldbus, for example EtherCAT or CANopen.
In the current version only EtherCAT axis are considered, but there still the possibility to define virtual axes, which can be used to compute trajectories without actually move any motor.
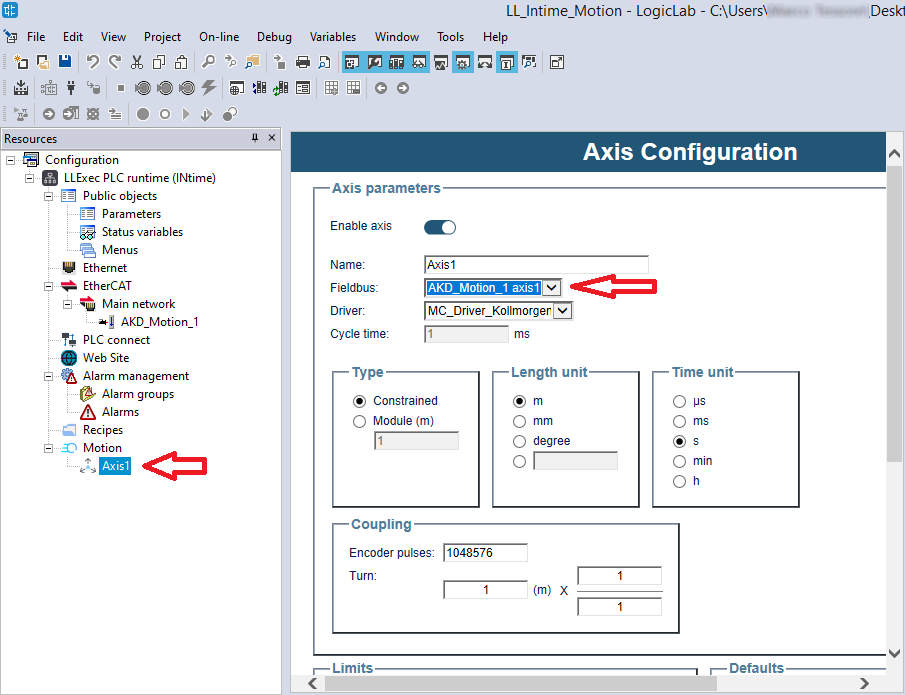
For any axis in one application, an entry should be created in the configurator:
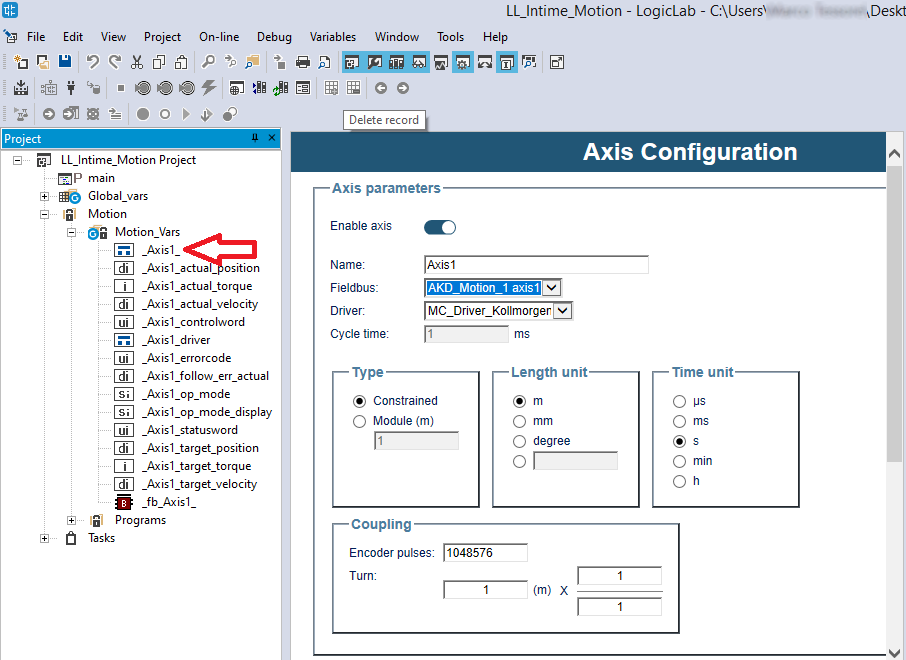
then LogicLab will generate automatically some variables, one of them is the AXIS_REF structure, which represents the axis in the application and should be used as input variable for many motion function blocks.
The axis behave as specified in the corresponding entry in LogicLab configurator,
and it must be binded to a phisical slave in the fieldbusses, which could be a Motion Enabled EtherCAT slave, and a corresponding driver: which is tecnically an object oriented function block which can specify specific behaviours of the axis.
The model of axis on wich the library works is inspired to the DS402 (or CiA 402) EtherCAT and CANopen profile for drives.
It is possible to drive other types of Axis, may be very different from the DS402 model: for that a driver must be written to map the DS402 behaviour compute by the library, into the specific details of the actual drive.
To allow the use of an EtherCAT slave in a LogicLab project, first its ESI description file must be imported in the IDE, from that time ahead, that EtherCAT slave could be inserted in any EtherCAT configuration.
The process of importing the ESI file is to generate a descriptor file in the installation directory of LogicLab describing its behaviour and capabilities of the slave in an EtherCAT network; the descriptor file, which has PCT extension a this time contains only the informations inside the corresponding ESI file, no EtherCAT profile informations are added, neither its ability to be used as a motion Axis.
The scope of this wiki page is to give the basic instructions to modify the PCT of an imported EtherCAT slave, to enable it to be used as a motion axis for the Axel Motion Library
Steps summary
- Install Axel Automation suite
- Launch LogicLab
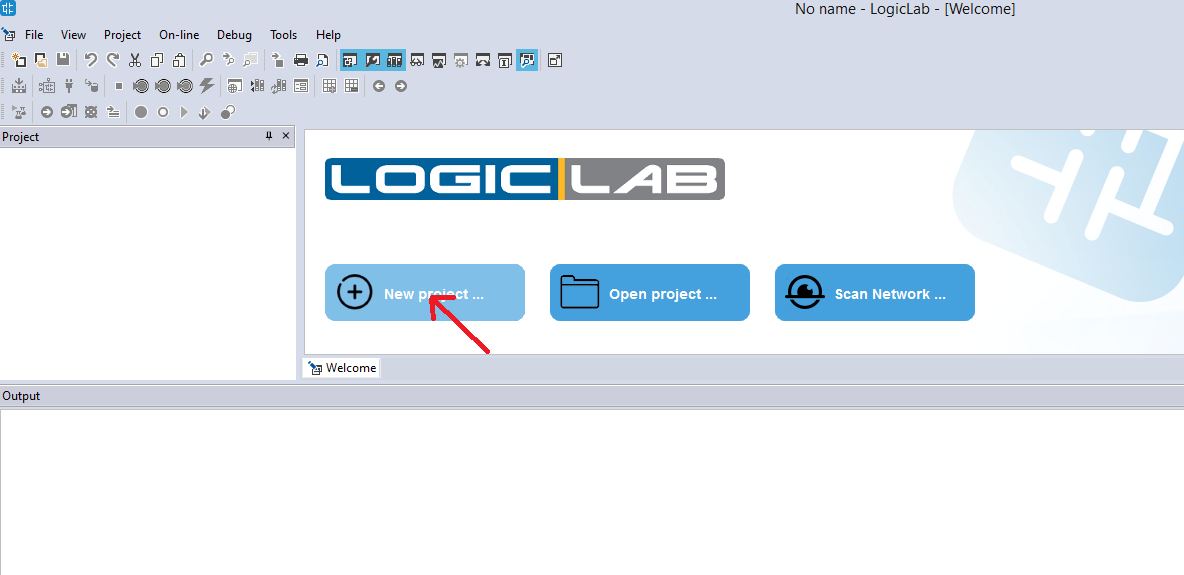
- Create an empty project for an EtherCAT enabled target (for example LLExec for INtime platform).
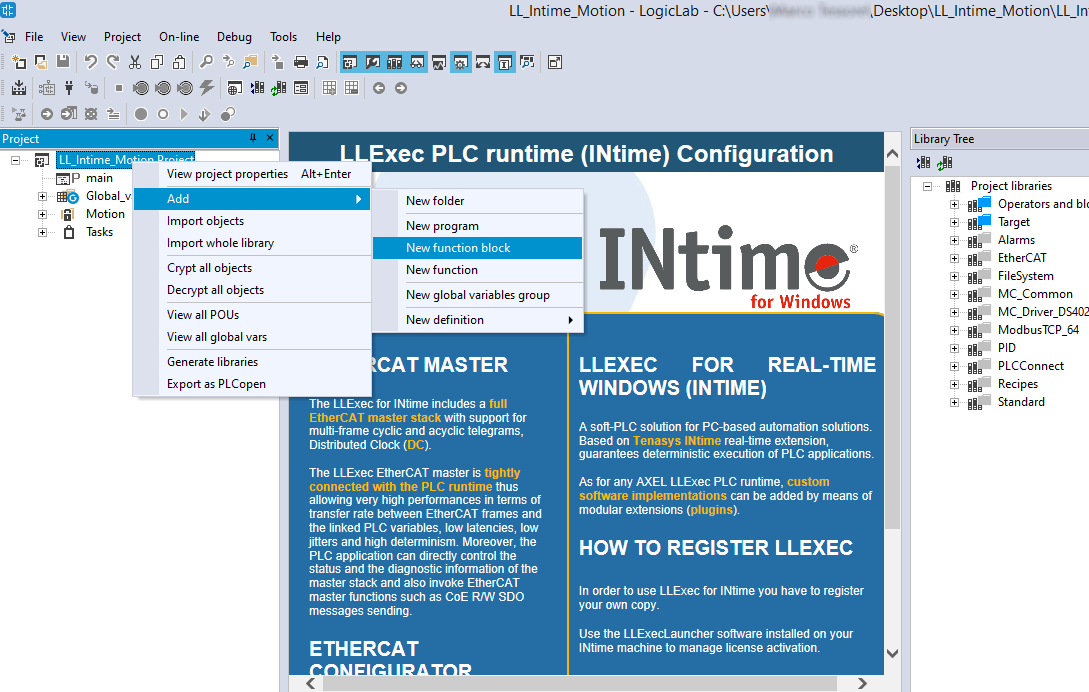
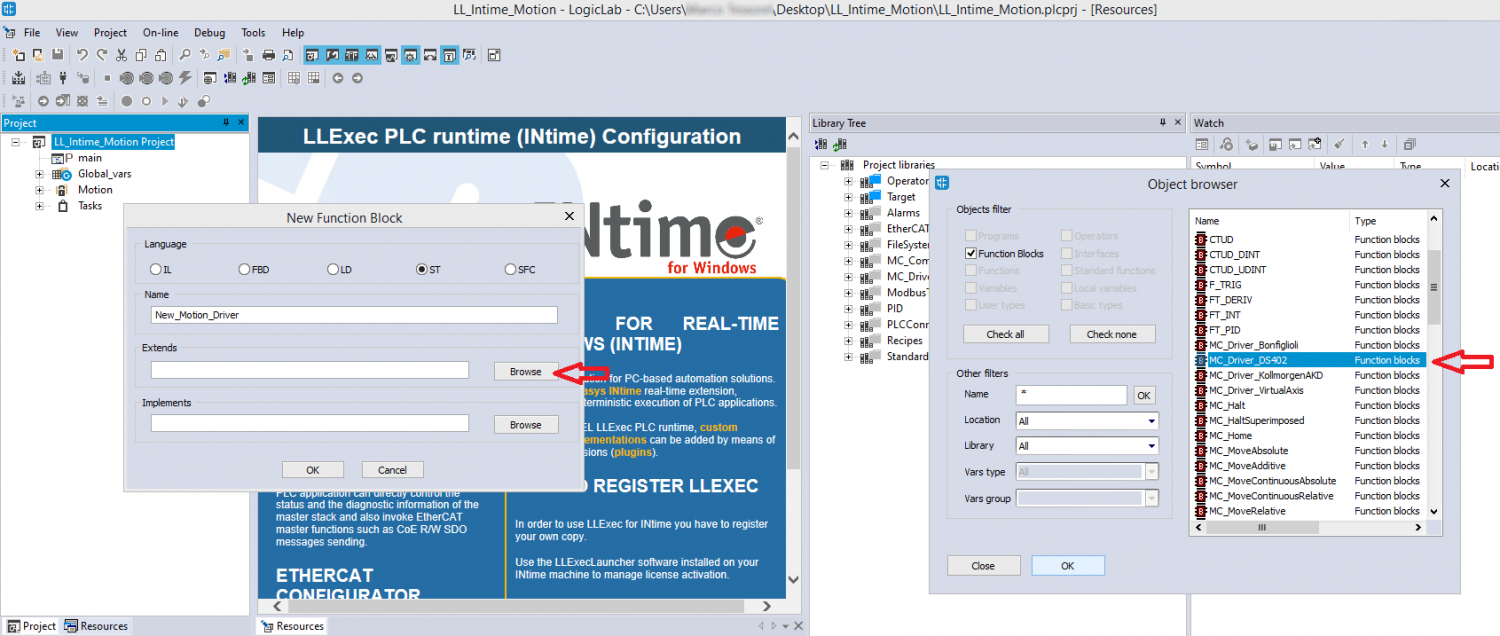
- (optional) If necessary implement a proper driver by creating a function block which is derived from MC_Driver_DS402 base function block.
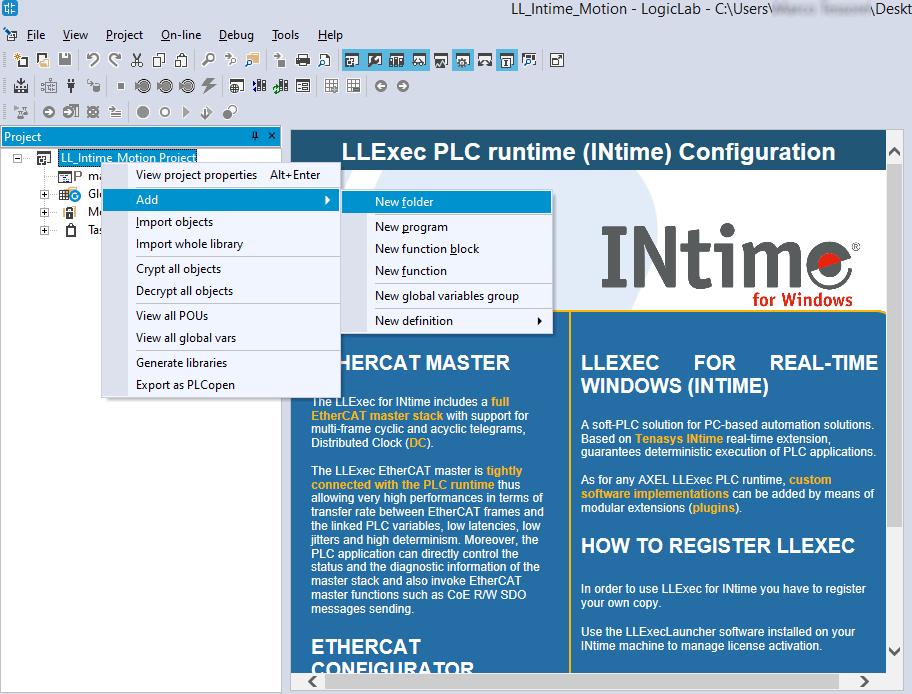
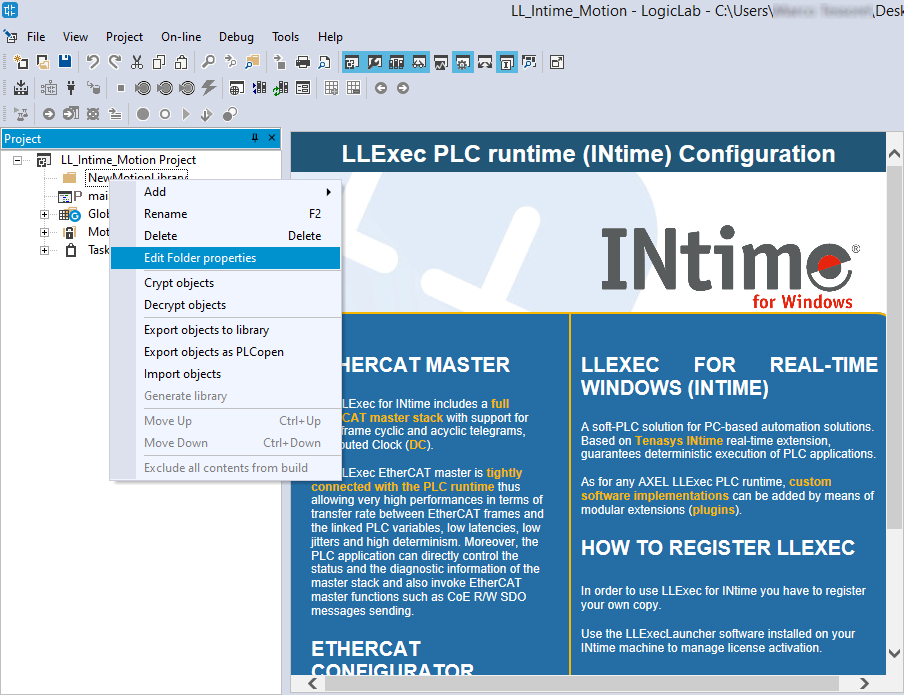
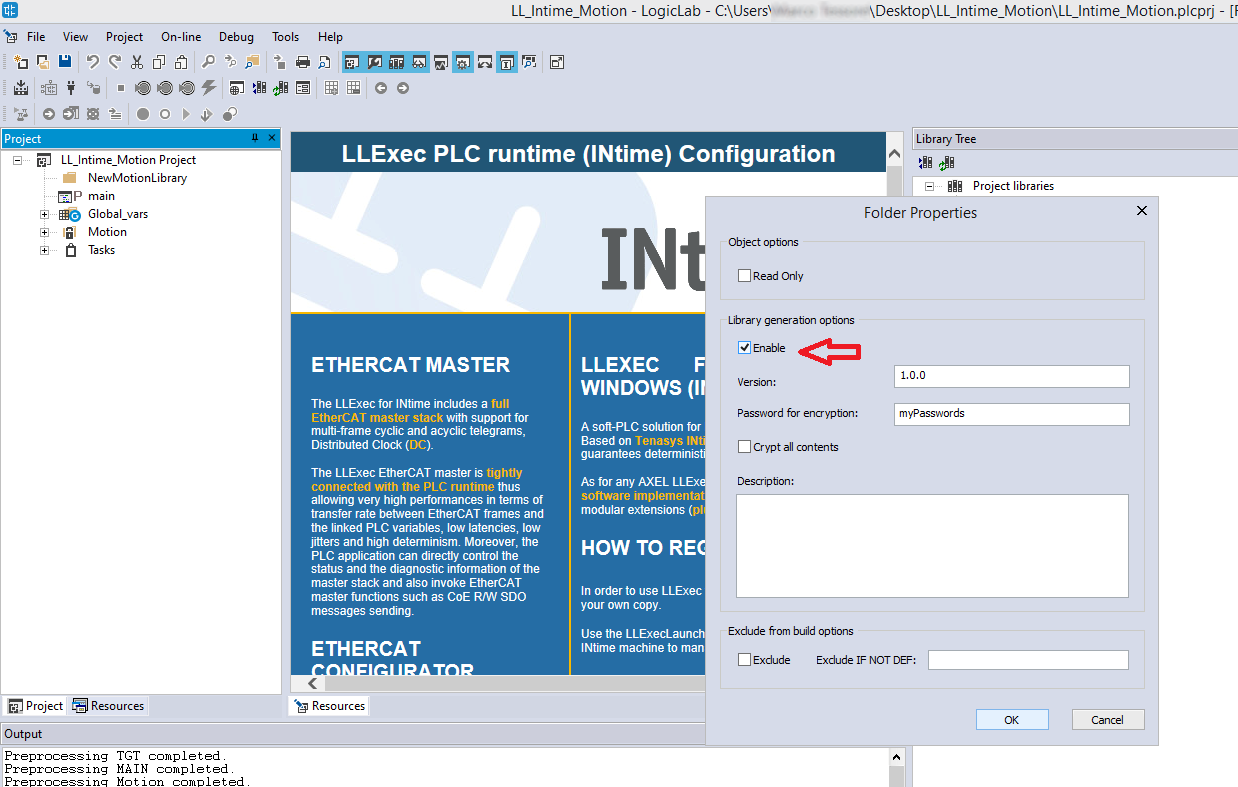
- (optional) Create a new library to include the created driver.
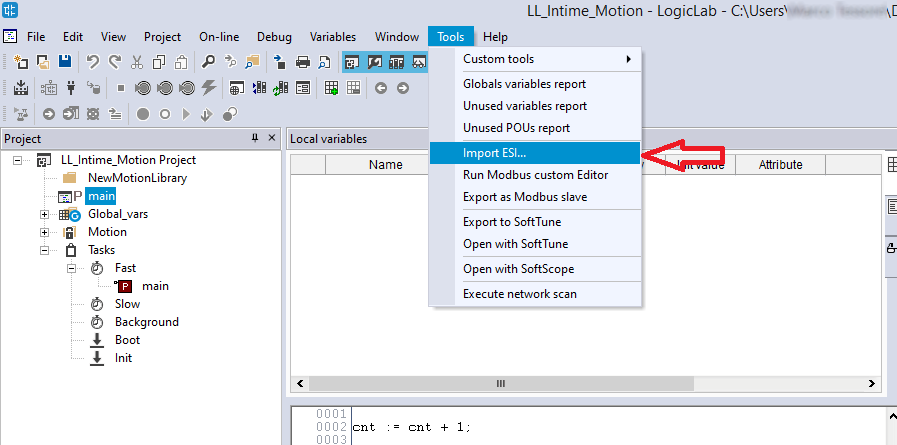
- Import the ESI file of the EtherCAT slave.
Note that, in order to have the menu entry in the menubar, you should open a program editor.
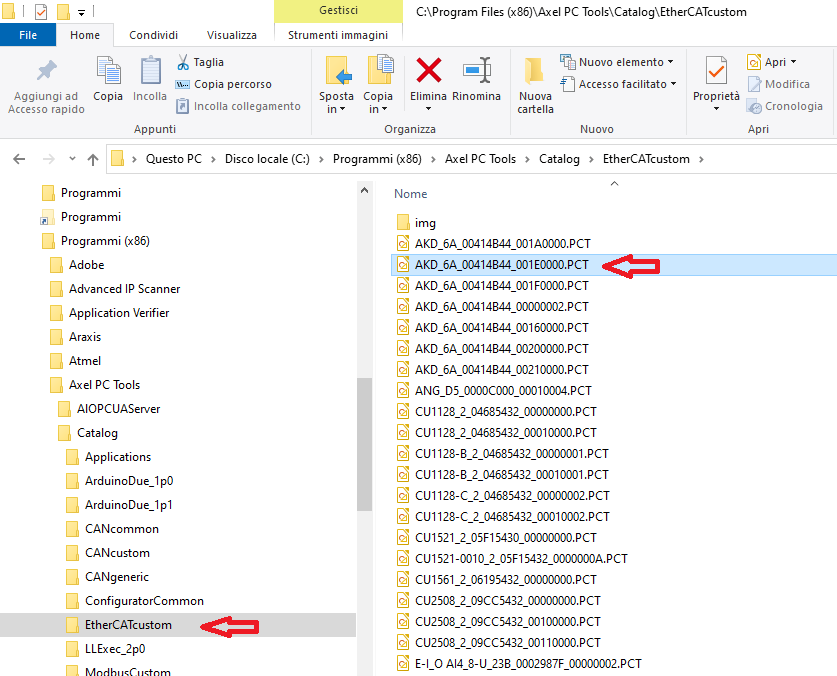
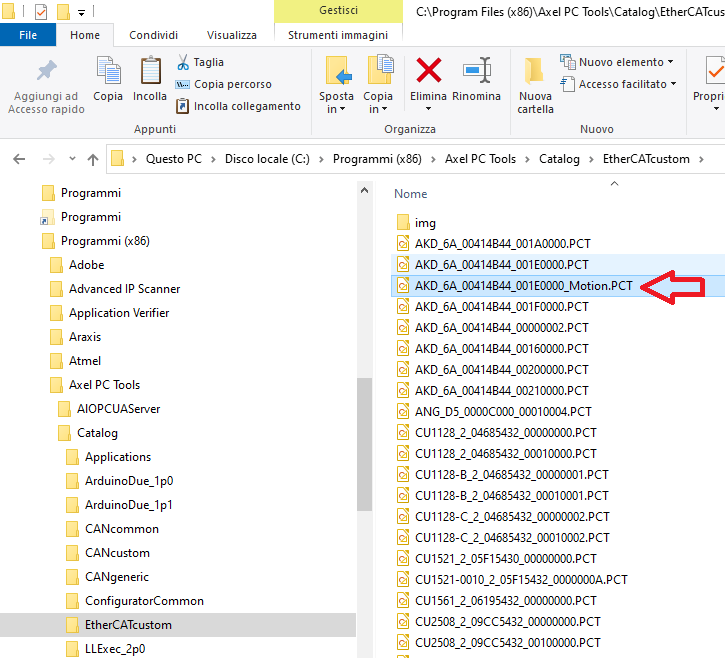
- Find, in the Axel Automation Suite installation directory the corresponding PCT file.
- Copy the file in a new file, which will became the motion enabled EtherCAT slave.
- Edit, with a text editor, the new motion enabled PCT file and add the <MotionAxes> xml section, as detailed in the document:
Axel_Motion_Control_Library_-_Customizing_Axis_Driver.pdf
Use steps
- Close LogicLab.
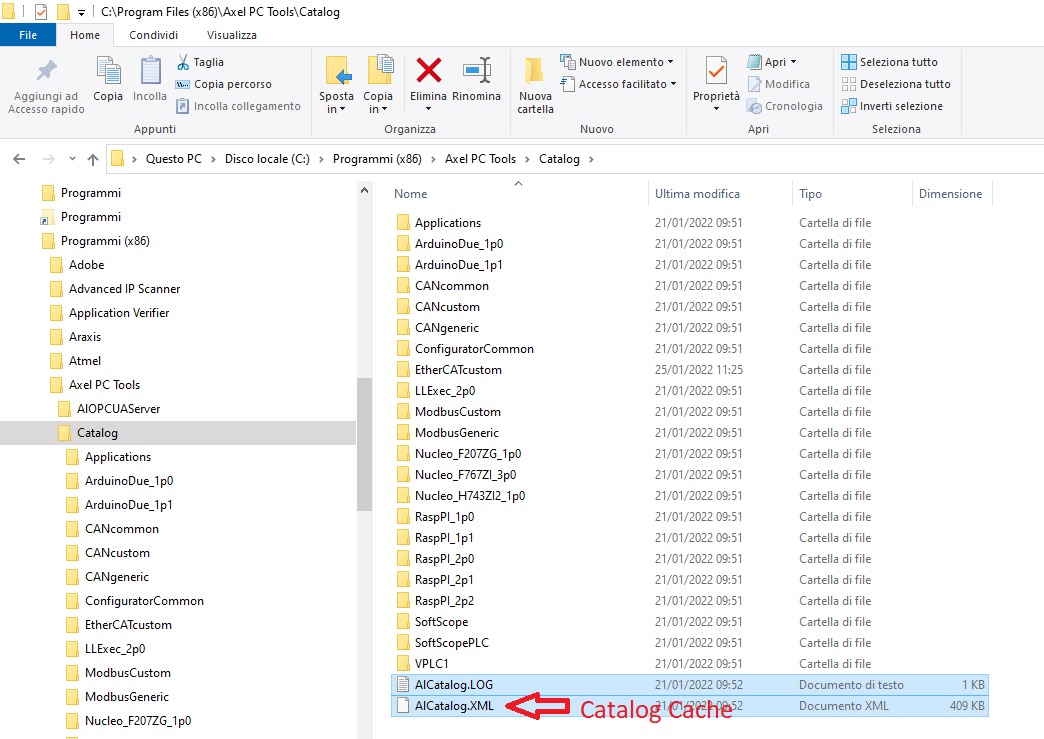
- Delete the catalog cache.
- Launch LogicLab again.
- Open the previously created project or create a new project with an EtherCAT enabled and Motion enabled target (for example LLExec for INtime).
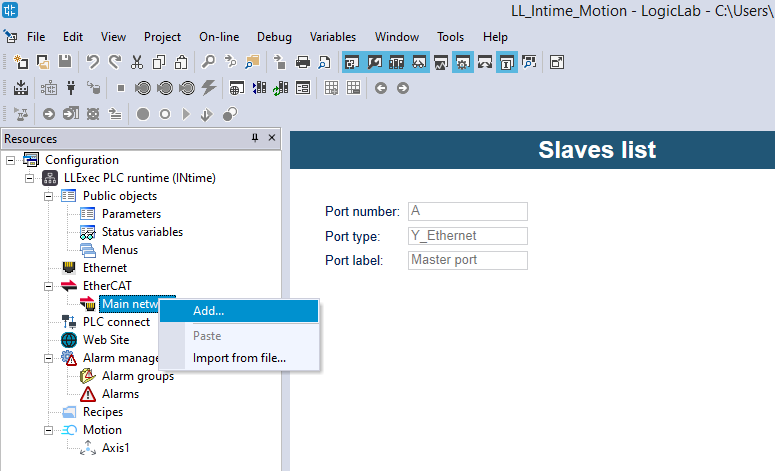
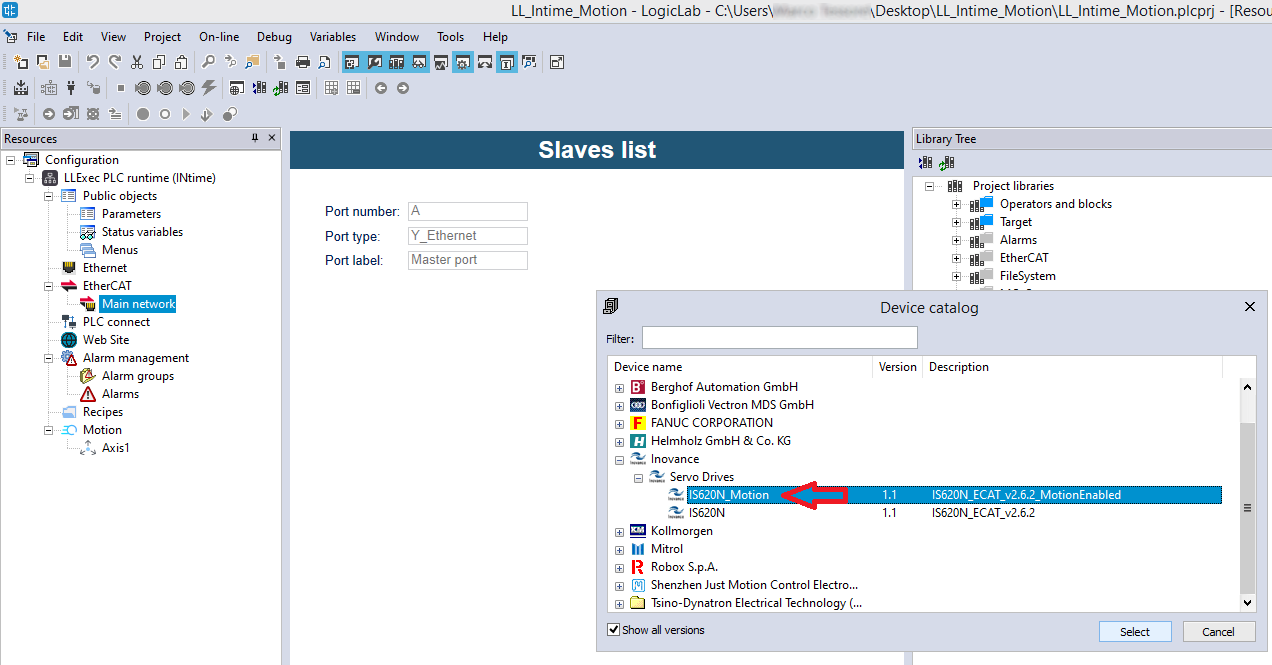
- Insert in the EtherCAT network the recently created motion enabled EtherCAT slave.
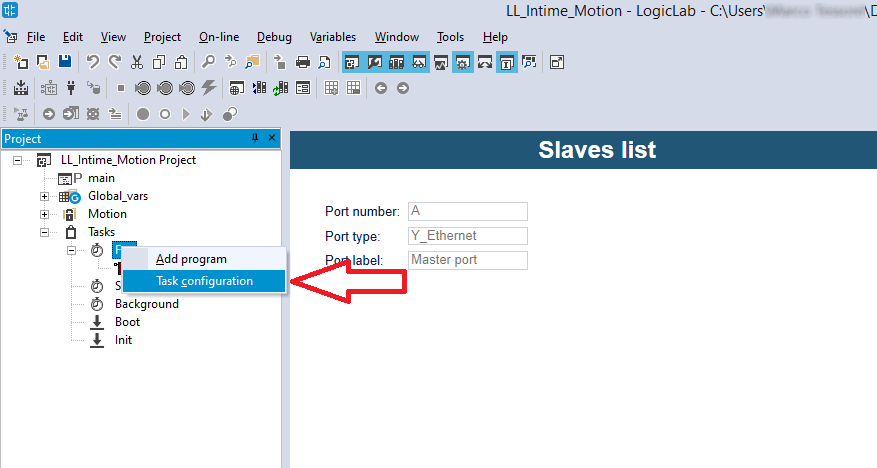
- Set the task fast cycle time as desired
- On the resource tree, right click on the node "Motion" and select "Add Axis"
- In the main axis window, in the "Fieldbus" box select the desired motion enabled EtherCAT slave, which is already inserted in the EtherCAT network.
- Select the correct driver in the "Driver" box.
- Once the project is saved, the AXIS_REF variable will appear automatically on the project tree, under the node Motion->Motion_Vars : use it as axis input for the motion function blocks.
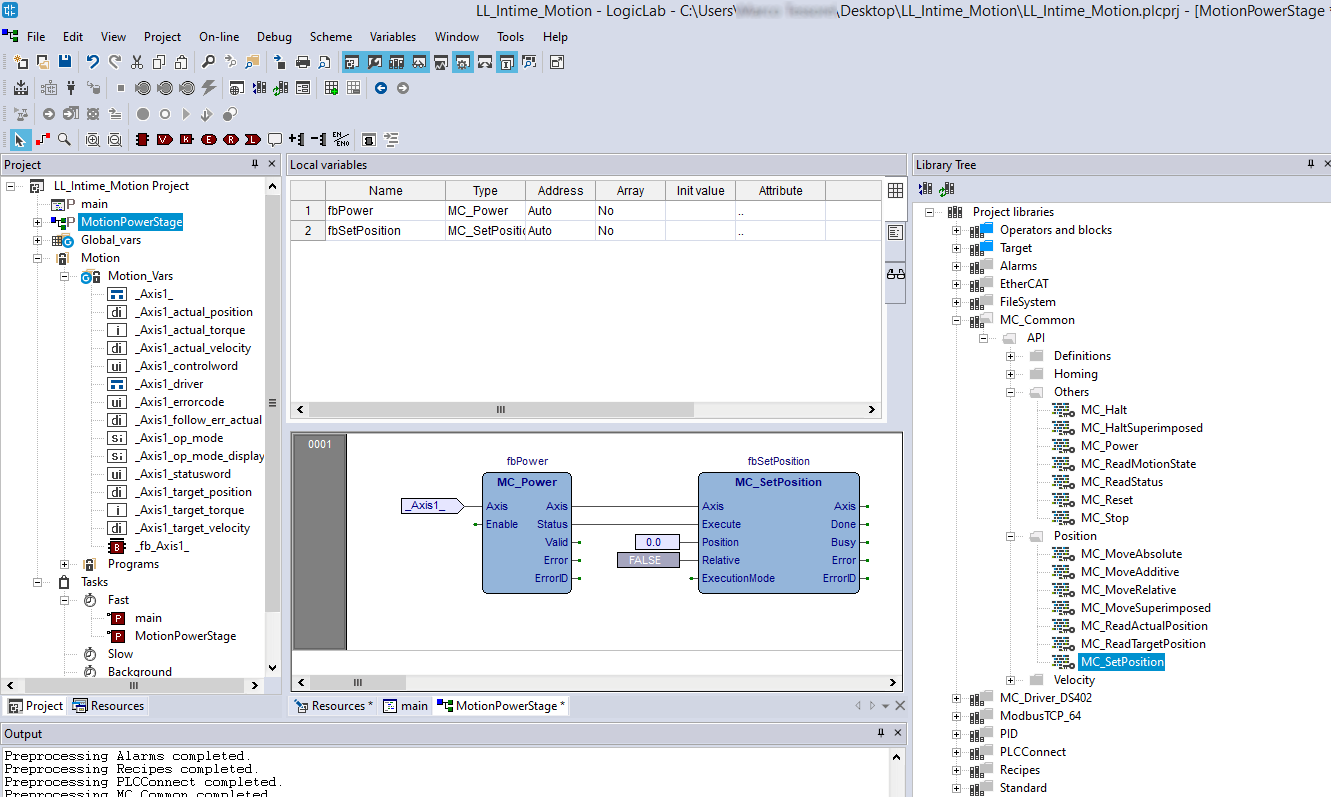
- Create an new FBD program and assign it to the Fast task.
- You can define your motion network using the function blocks in the library tree, under the node MC_Common->API as specified by the PLCopen motion control part-1 specification.
Further readings
MCLibraryOverview.pdf
Axel_Motion_Control_Library_-_Customizing_Axis_Driver.pdf
https://plcopen.org/technical-activities/motion-control
